Queries
Queries are the rulesets that take advantage of IRIS+ Professional's video analytics capabilities to produce results based on queries for specific objects, people or complex events such as tailgating or near-miss scenarios in videos.
Query setup
Queries can be run by selecting a Query Type covering specific use cases See the Query Types section for opnfiguration.
Queries list
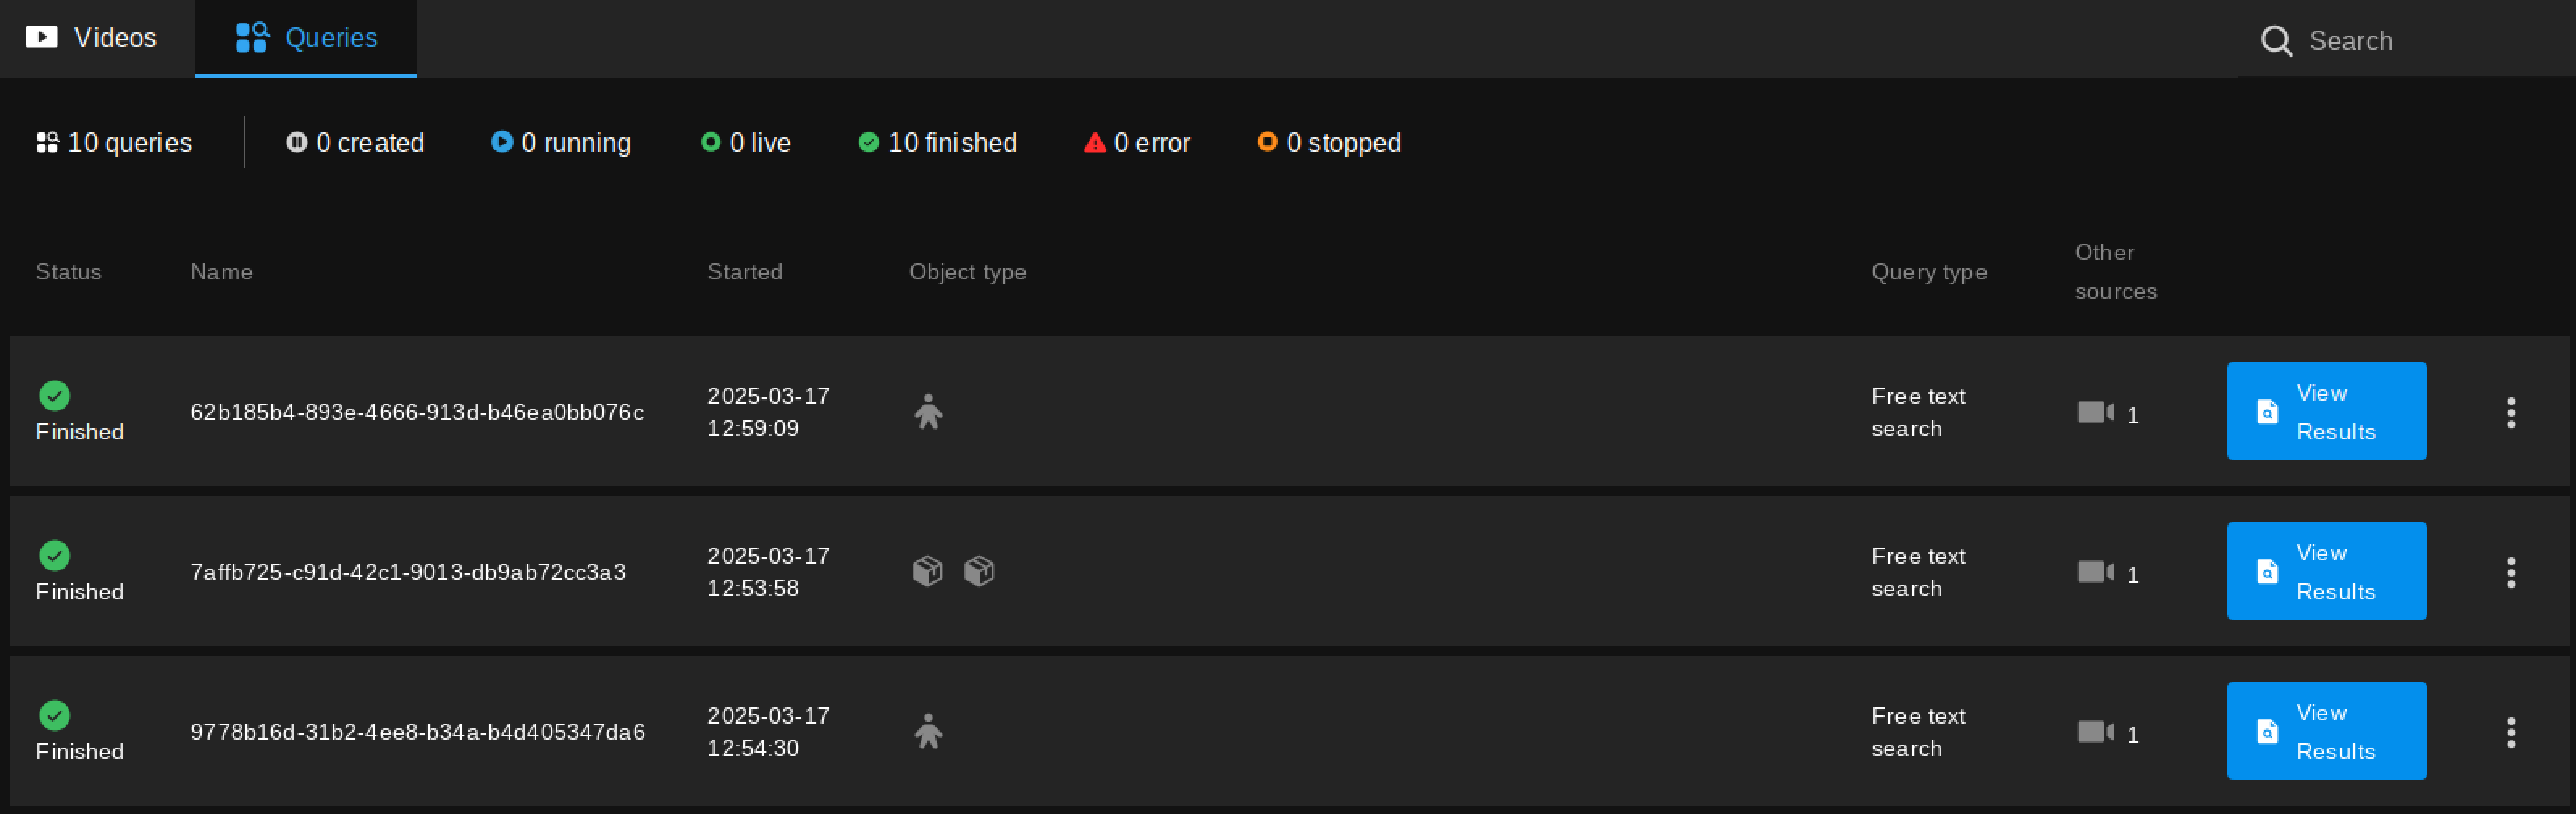
Select the Queries tab on your Workspace or sub-folder to see the list of queries and their status.
Queries follow the folder structure of your videos - a query can be found in the folder where the video it was run on is located. On first login, your Workspace will be displayed, which acts as the root folder for all videos and queries. Selecting a sub-folder on the left sidabar will display the videos and queries it contains.

- Clicking on the query's row will open the Query setup screen, with the Query details and parameters you previously set. Useful for checking the parameters of a Query.
Note that you cannot edit the parameters of a Query once it has been run.
- View Results: Open the Results view, see below.
Click on the menu on the right side of a row to access the following options:
- View Query: Opens the Query setup screen, see above.
- Duplicate: Create a copy of the Query.
- Delete: Delete the Query.
Results
The Results screen displays the output of the query in various formats. Results can be filtered by typing in the search bar at the top of the screen.
- On the left sidebar, navigate to the folder containing your videos.
- Select the Queries tab to see the list of queries and their statuses.
- Click the View Results button of the query you want to view the results of.
Results can displayed in multiple views:
Full frame
The full frame view displays the video with the detected objects highlighted. The objects are color-coded based on their object type. The object type is displayed in the top left corner of the bounding box.
Hover over a thumbnail to play a video segment from that timestamp. Click on a thumbnail to display a popup containing a snapshot image as well as a video segment of the event.
Detection only
The detection only view displays an image crop of the detected objects.
Clic on an image to display a popup containing a snapshot image as well as a video segment of the event.
Metadata table
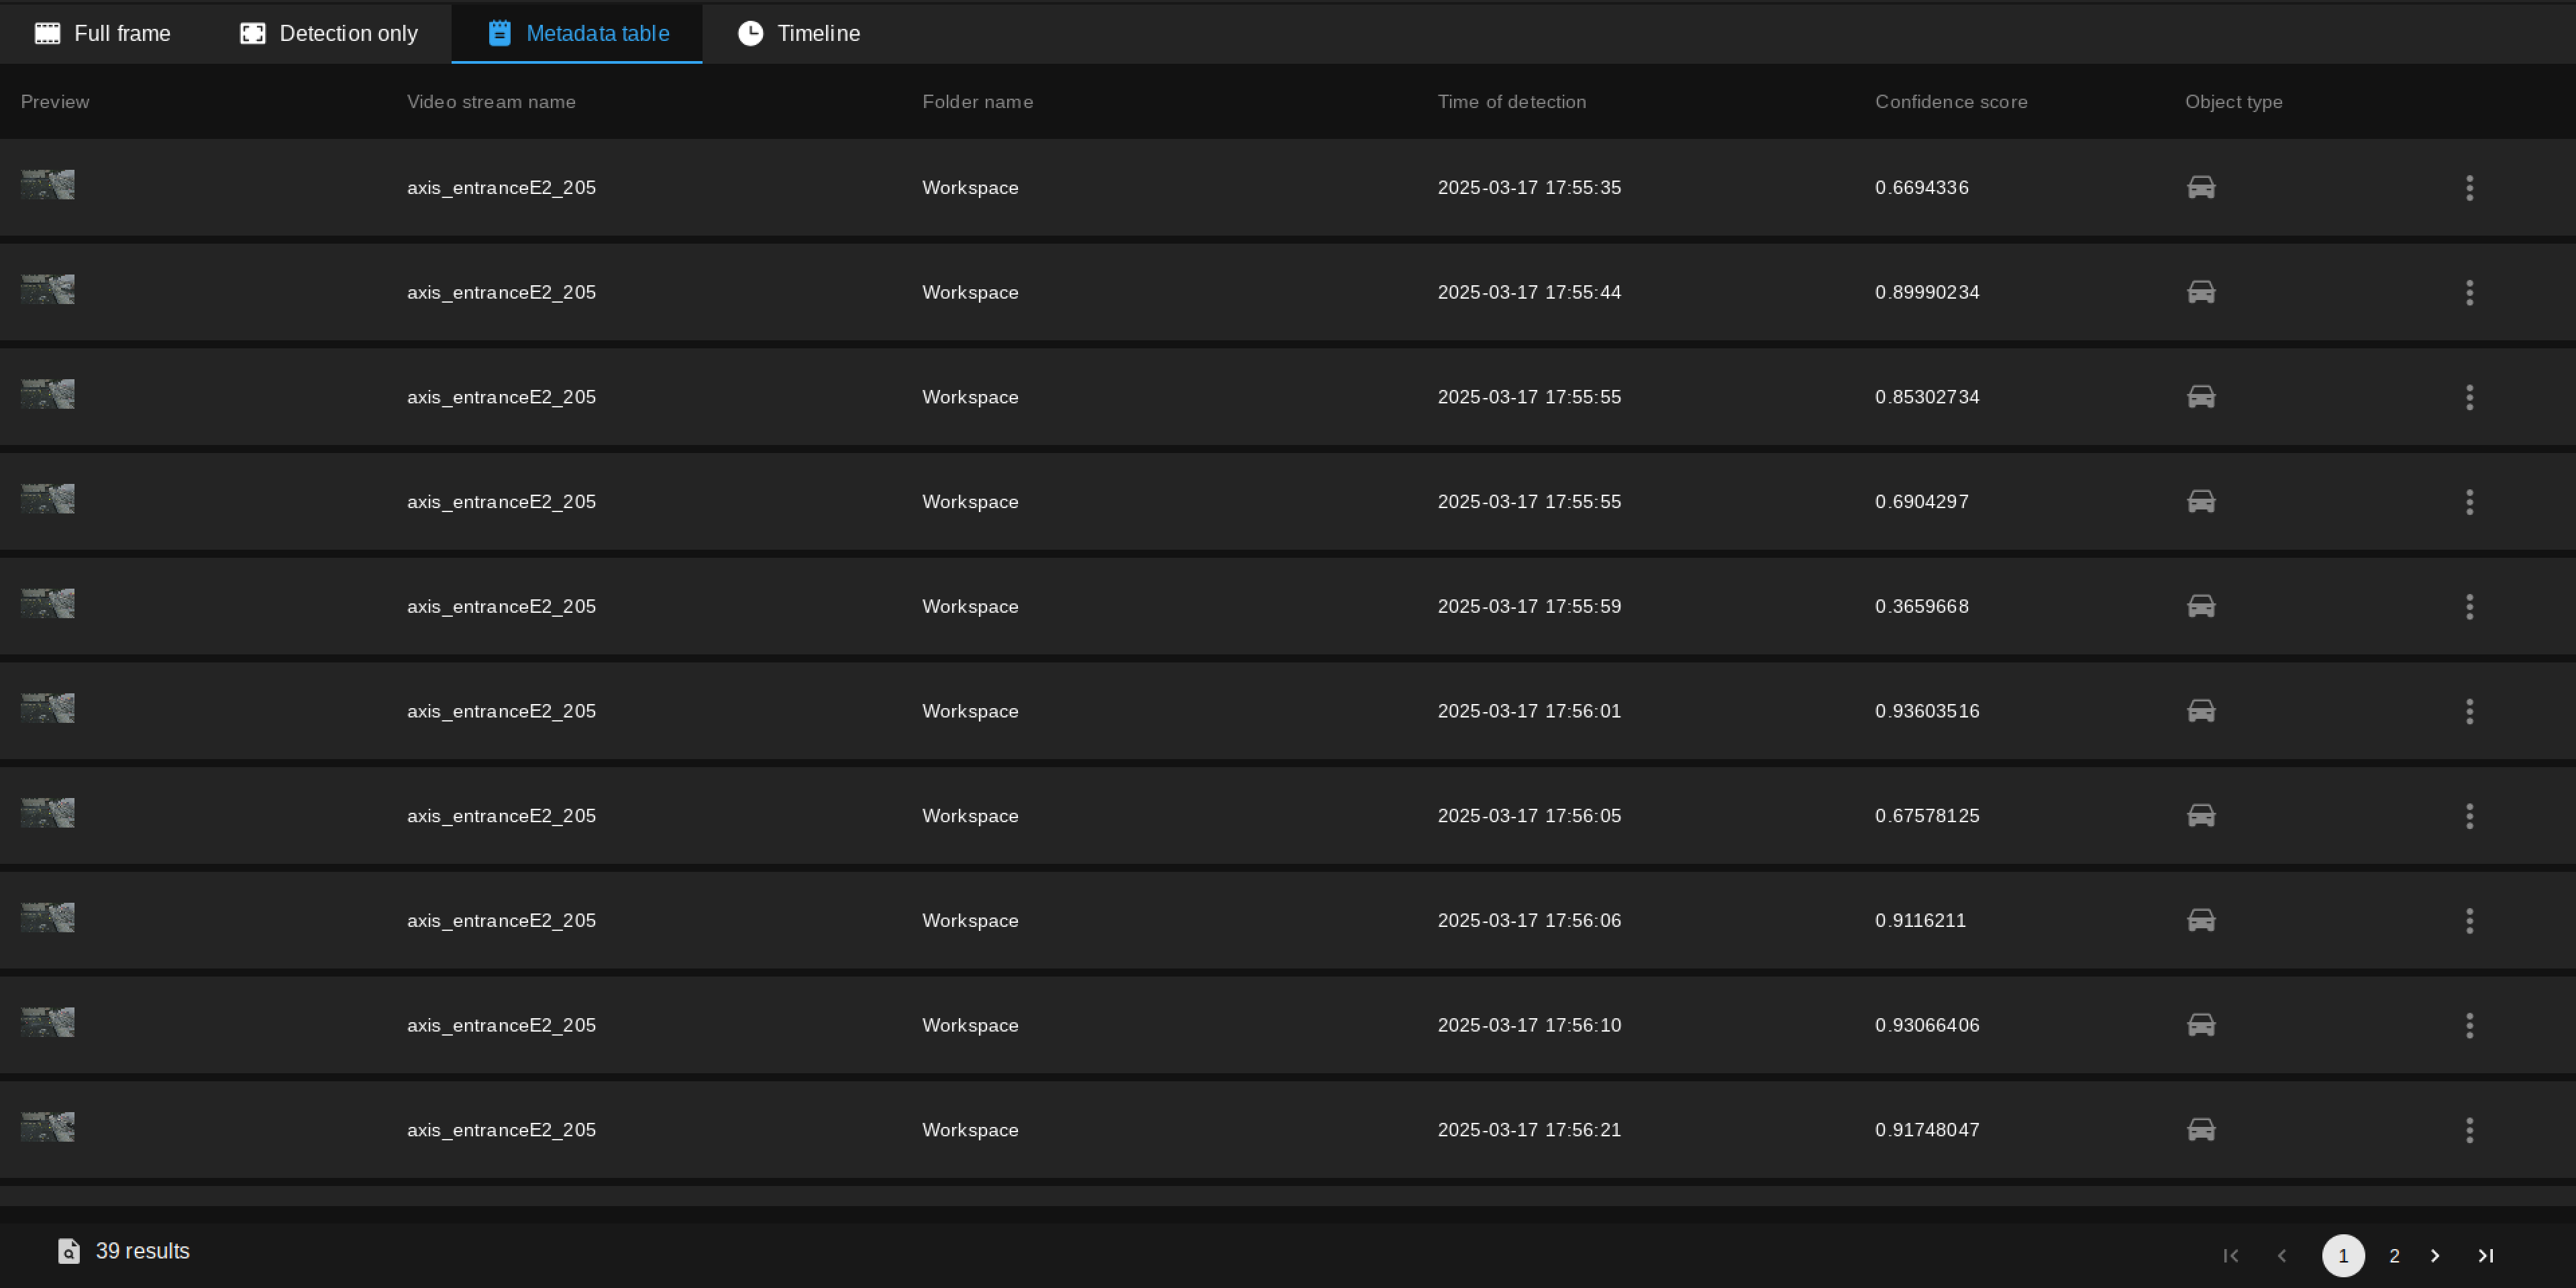
The table contains the metadata of the detected objects; This includes the object type, confidence score, and timestamp of the detections.
Click on a row to display a popup containg a snapshot image as well as a video segment of the event.
Click on the menu on the right side of a row to view additional metadata of the event, such as the X,Y coordinates and the width and height of the bounding box.
Timeline
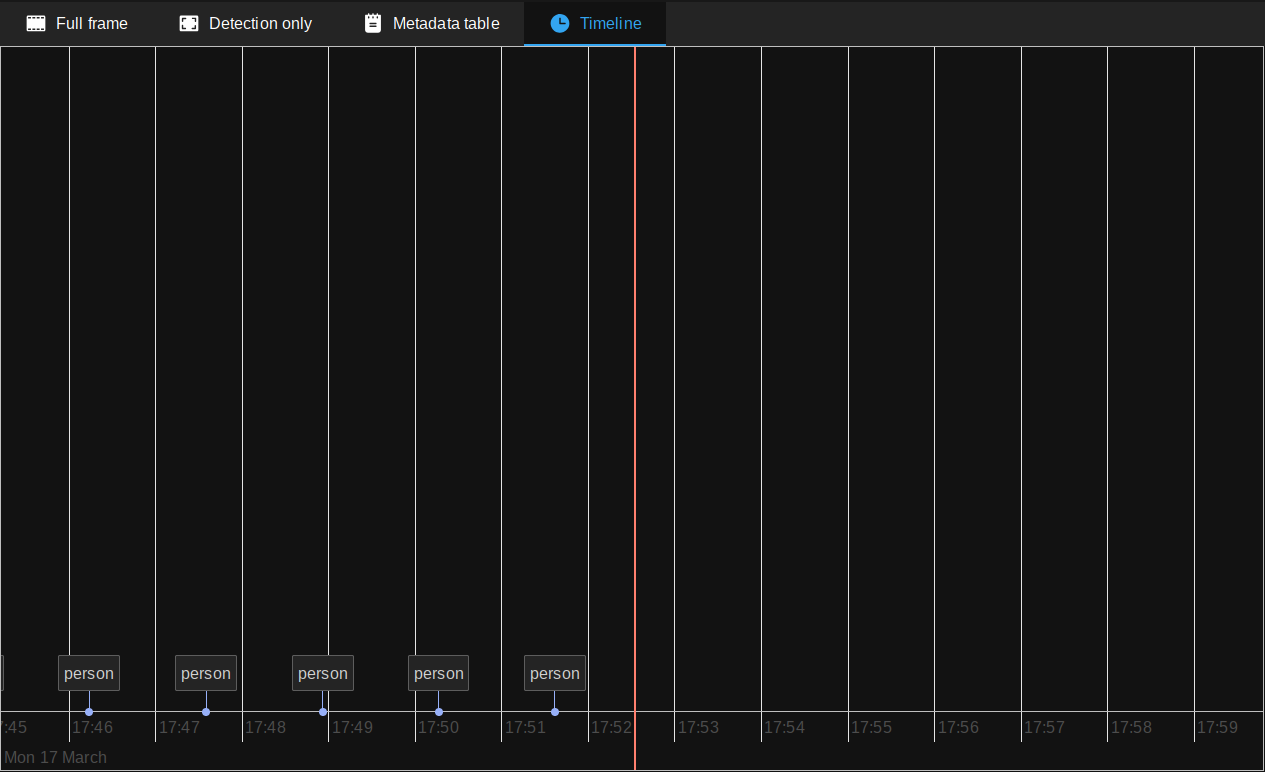
The timeline displays the detected objects over time. The timeline can be used to navigate through the video and view the detections at specific timestamps.
Click on a detection in the timeline to display its thumbnail on the right. Click on the thumbnail to display a snapshot image as well as a video segment of the event.
Scroll through the timeline by dragging it with a left-click. Zoom in and out by scrolling up and down with the mouse wheel.
If the query is run on a live RTSP stream, the timeline will display the detections in real-time, with the current time marked by an orange vertical line. The timeline will automatically scroll to the right as new detections are made.